

Create your account
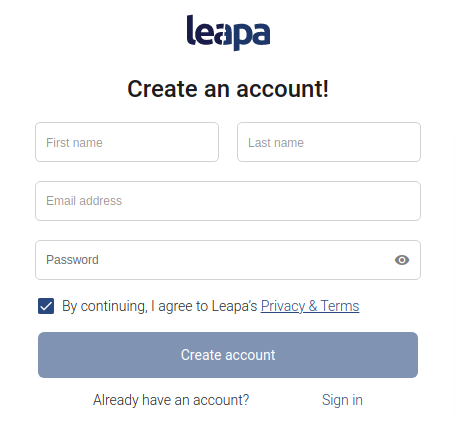
To start accepting payments with Leapa, first you need to create your leapa account here, by clicking on Create a free account on the main Leapa web page or on the Sign Up button in the top right corner.
Fill in these information and click on Create Account:
- The first name and last name,
- The business email
- The password (must be longer than 6 characters, contain a special character and a number)

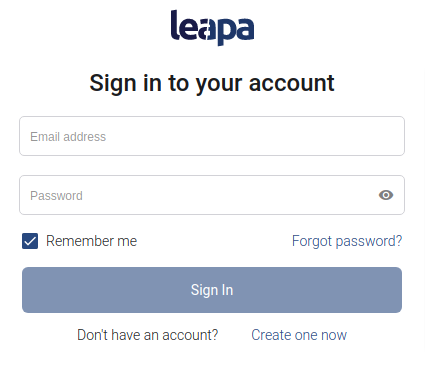
If you already have an account, you can click on the Login button on the top right of the Leapa website or directly visit the application link at https://app.leapa.co and login to the application by using your: email and password.

After creating an account, you will get another screen asking for the confirmation code. You should receive this code by email, enter the 6 digits and click on Continue.

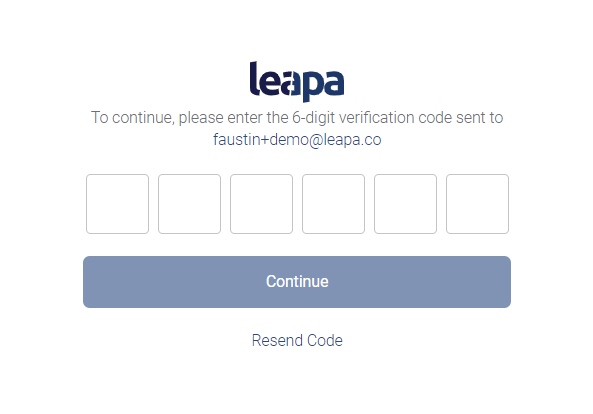
If, in any case you didn’t get the code or deleted the confirmation code email by mistake, you can click on Resend Code to get a new one.
After clicking on Continue, you will be directed to the main application dashboard.
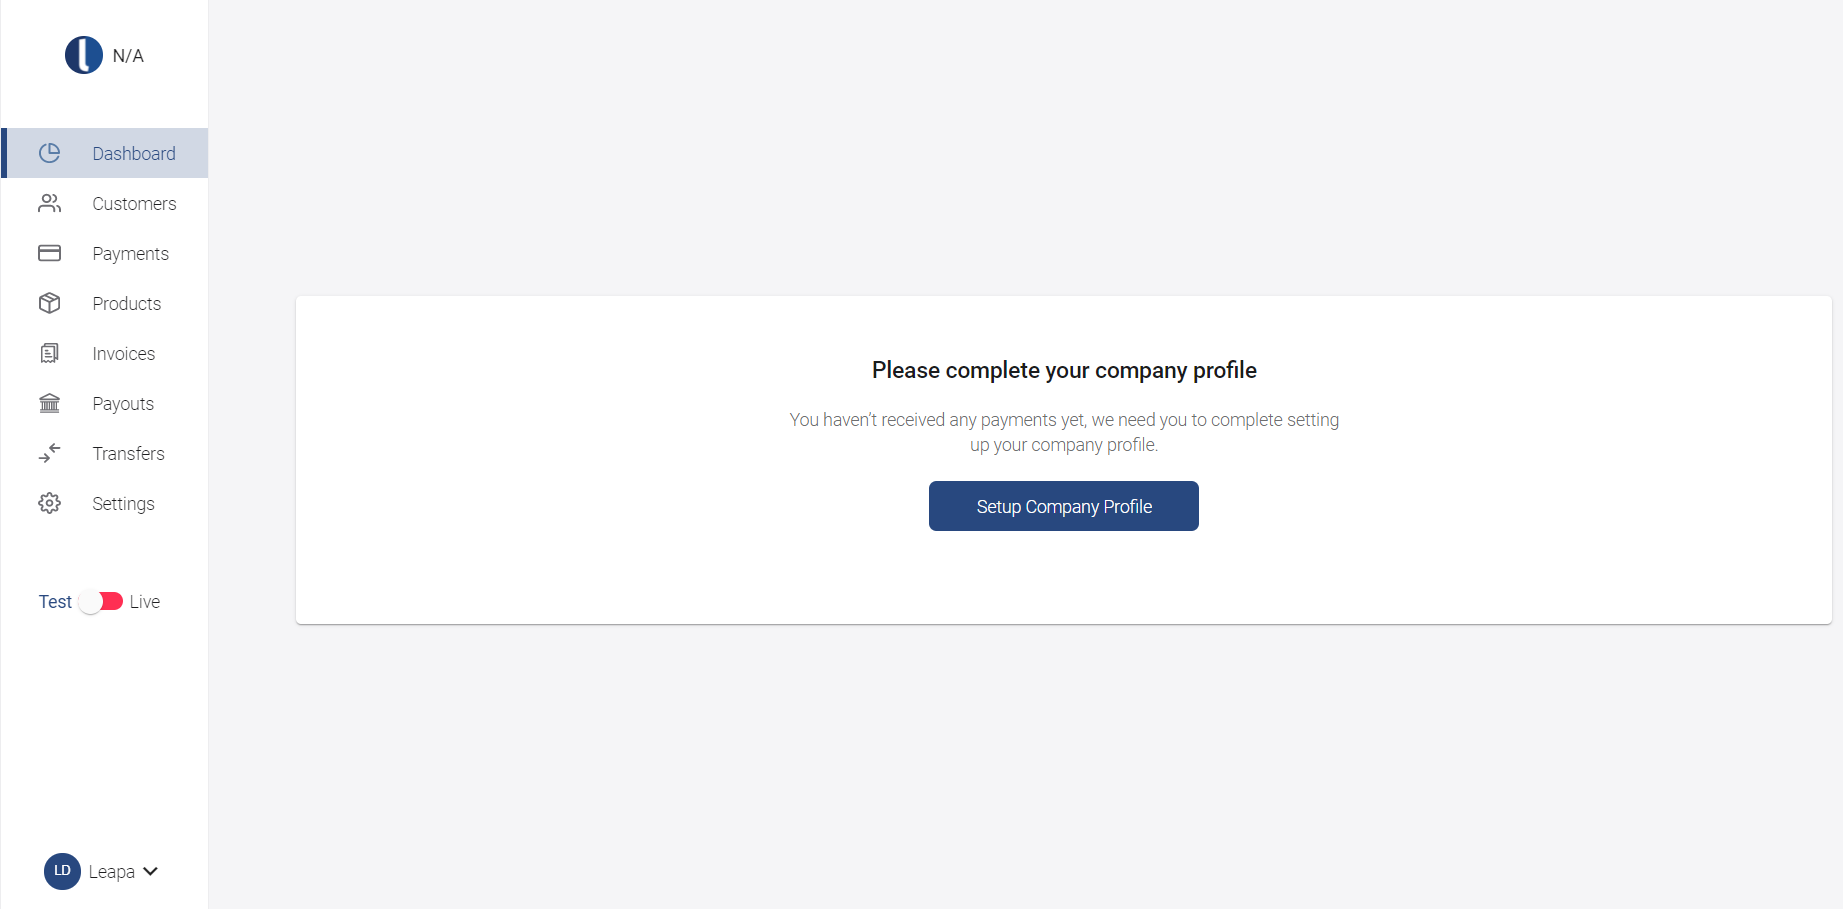
After the authentication, you will access the Leapa dashboard. The first screen asks you to set up the company profile. When you click on Setup company profile it directs you to the settings page to complete your company information needed to fully use the application features.

Set up your company's profile
To access your business account settings, click on the Settings tab, there are 4 sub tabs: Company Profile, Payout Accounts, Documents, and API Keys.

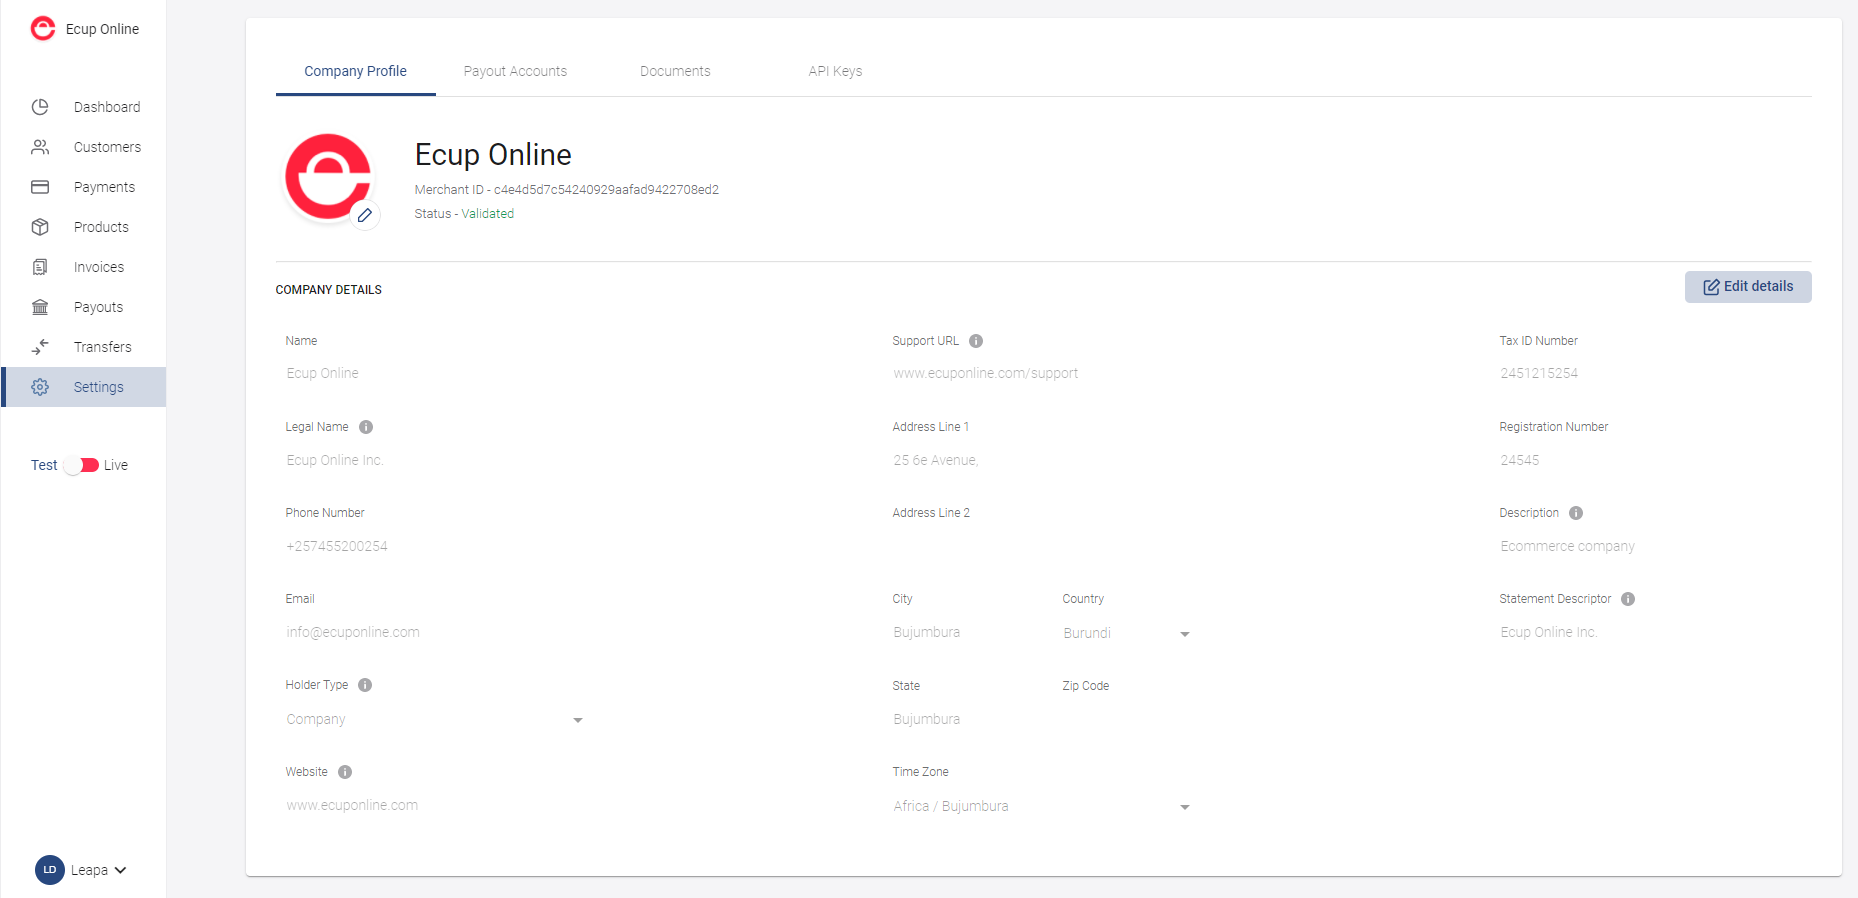
This is where the company information is captured. Complete your company information by clicking on the Edit Details button, and fill in missing information:
- The company logo
- The company name
- The company legal name
- Phone number
- Website
- Support url
- Address
- Holder type
- Timezone
- Registration number
- Tax ID number
- Description
- Statement descriptor

After completing the required information on this tab, click on the Save changes button to save the new information.
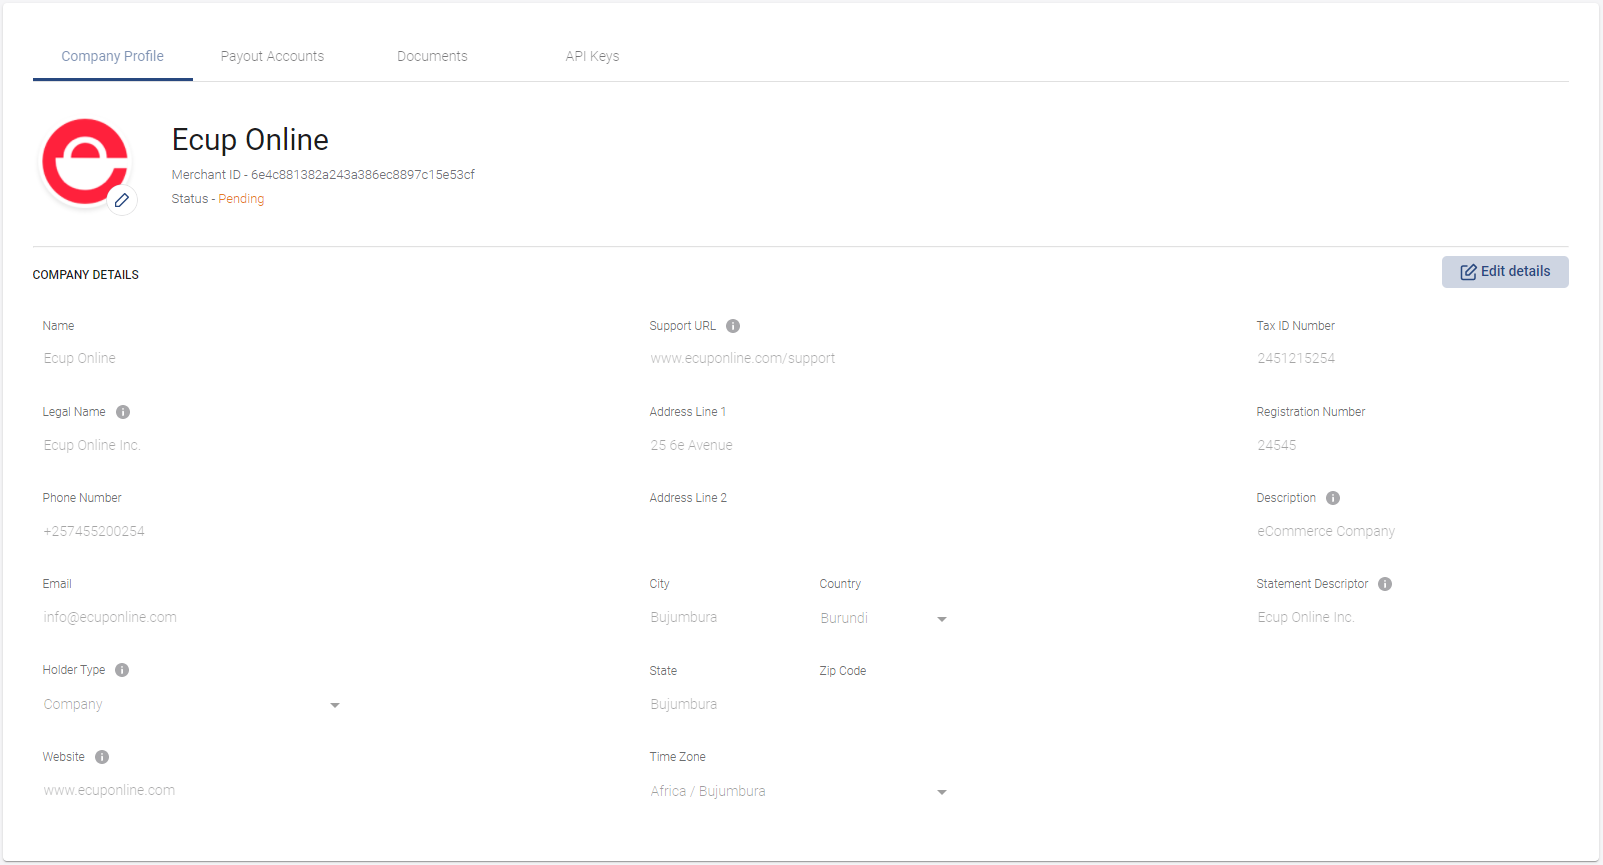
Create payout accounts
On this sub tab are managed business payout accounts. If you have customers you will be paying them from your leapa account, this is where you add them. You can add bank payout accounts.
To add an account click on Add Account and fill in the following information, in this case a bank account:
- Currency
- Holder type
- Account type
- Account number
- Routing number
- Bank name
- Address
After completing the information, click on Add account.
Note that if this is your own payout account as a business owner, you should check the Select as default checkbox.

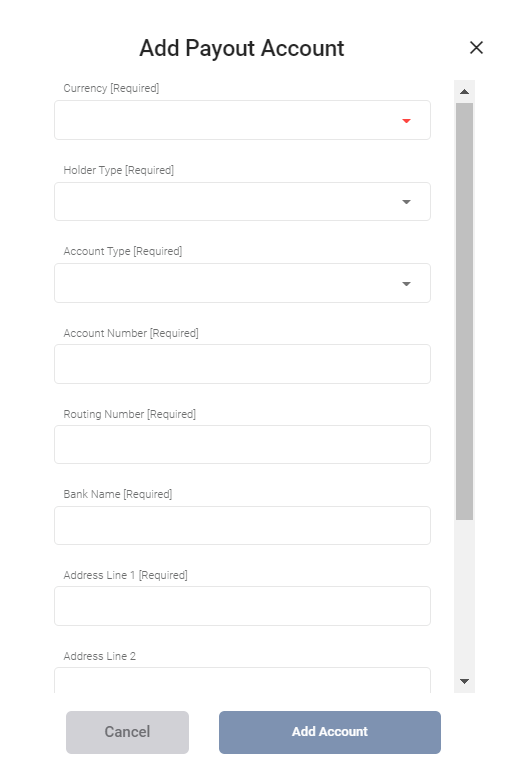
Upload your company documents
To activate your account and start receiving payments, you need to provide first the proof of the authenticity of your business and ownership. Upload documents supporting the identification application such as Business Registration document, passport/ID as an owner of the business, your business bank account ownership documents and more.
Click on the Documents tab and click on Add Document to upload the 6 required documents.

A list of created documents is displayed under the tab:
- Company license
- Company Owner ID
- Company bank details
- Company Registration
- Company statutes
- Company Tax Document
After uploading the supporting documents, the merchant account will be reviewed to assess the validity of the business and ownership and then it will be validated or rejected. If it is validated, then you can start using the application as you want.
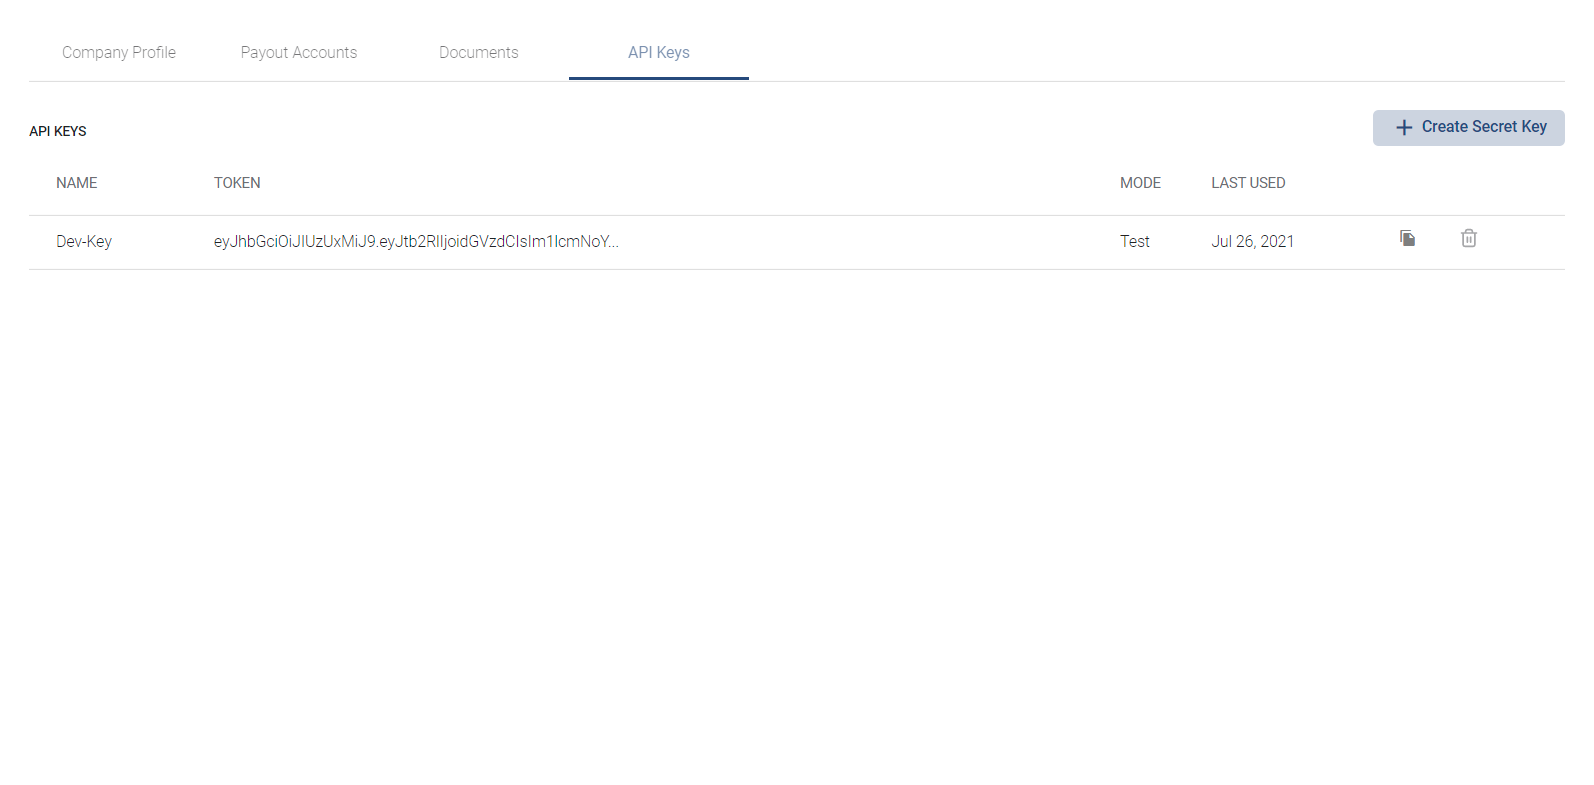
Generate API Keys
This is where API keys are. These API keys are useful when you have a development team and you want to use Leapa API to manage your account outside the Leapa application.
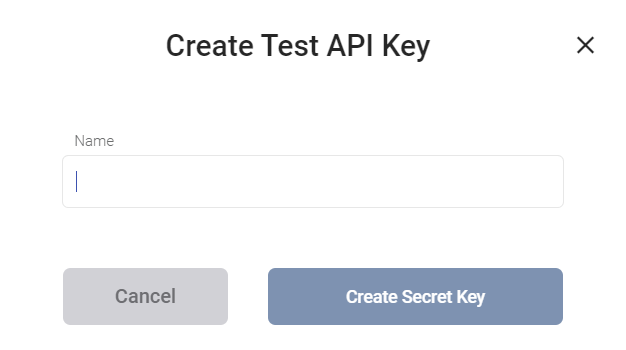
To get an API key, click on the API keys sub tab and click on Create Secret Key, name your key and click on Create Secret Key to generate one.

A list of generated keys is displayed under the API Keys tab.

Manage your personal settings
As an owner of a business or an account representative, this is where your information is managed. After login to the Dashboard, click on your avatar at the bottom left corner of the page and click on Personal Settings.
In the displayed profile page you can either complete your profile by adding more information.
On the page you can complete or edit your information by clicking on Edit Profile button and by filling in the following information:
- First name
- Last name
- Phone number
- Date of birth
and click on Save changes button.
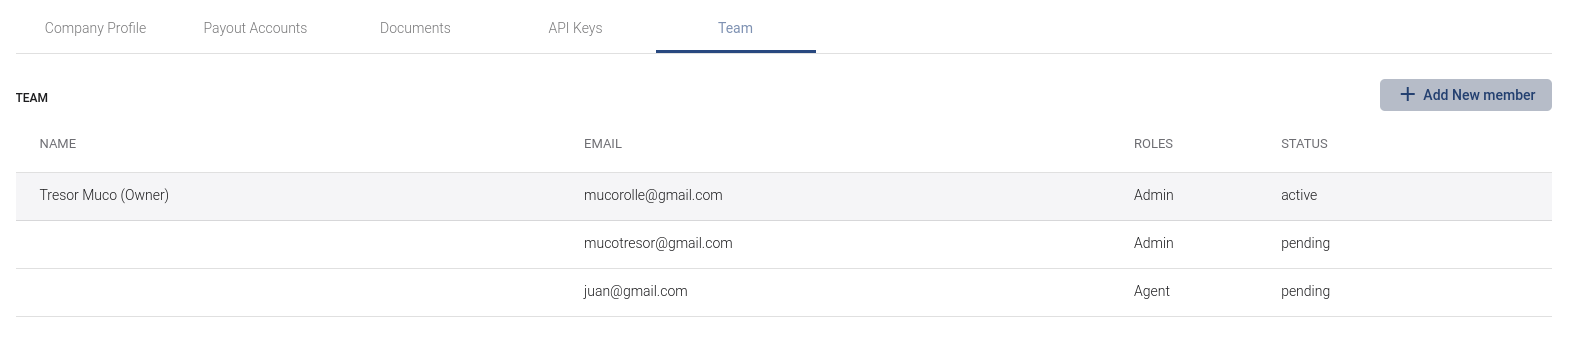
Team management
If you would like more people to have access to or manage your account, Leapa added a feature that helps you to add people to it with restrains or full access.
Available roles for account members
- Admin: This role is for people who need the same access as the account owner. This role can see and manage everything.
- Agent: This role gives access to everything in the application except Payouts and Transfers.
- View Only: This role is for people who need view access to accounts. They can view everything but cannot make any change.
Add account members
To add account members, navigate to Settings, Team tab and click on the New Member button

In the opened modal add the invitee email, select the role and click on the Send Invites button.

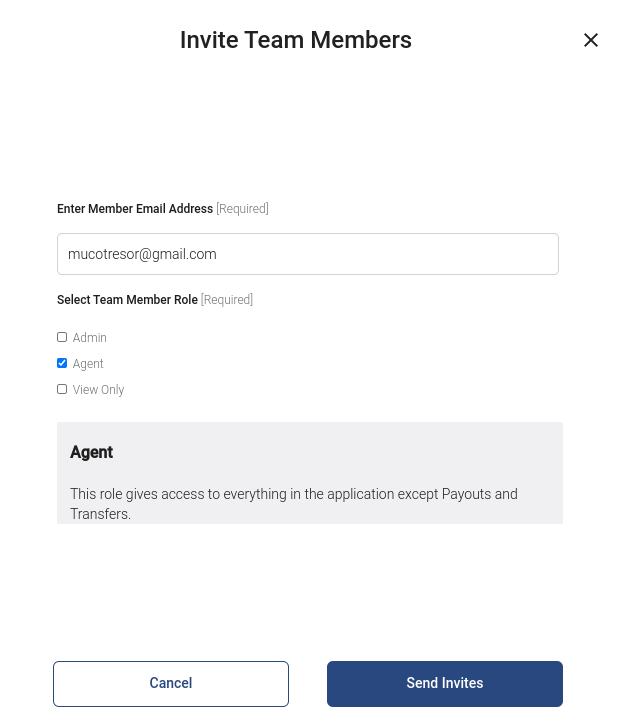
The user will receive the invitation email that contains instructions on how to get connected to the account.